
Camera Keeps Disconnecting? Your Wi-Fi Health Checklist
It's one of the most frustrating smart home moments: you open an app to check on your home, only to be met with a dreaded "Camera Offline" message. A security camera that keeps disconnecting feels unreliable and defeats its own purpose, leaving you in the dark.
The good news is that the root cause is rarely a faulty camera. More often than not, the culprit is a weak Wi--Fi signal or a simple network issue that you can fix yourself.
This article is your definitive checklist to diagnose and improve your home Wi-Fi signal, ensuring your security system—regardless of the brand—stays online and ready when you need it.
Why Your Security Camera Goes Offline
Before diving into the fixes, let's understand the common causes of network-related disconnects:
Poor Router Placement: Your router's location is the #1 factor for creating Wi-Fi "dead zones."
Wi-Fi Interference: The 2.4GHz band, used by many smart devices for its long range, is also crowded. Common household electronics like microwaves can disrupt your signal.
Incorrect Wi-Fi Band: Many modern routers have both 2.4GHz and 5GHz bands. While 5GHz is faster, 2.4GHz offers a longer range and penetrates walls better, making it more reliable for cameras far from the router.
Network Congestion: With numerous devices (phones, laptops, TVs) all demanding bandwidth, your camera can get pushed off the network.
Your 6-Step Wi-Fi Health Checklist
Follow these simple troubleshooting steps to create a rock-solid connection for your security cameras.
Step 1: Find the Best Place for Your Router
Place your router in a central, elevated location, away from thick walls and large metal objects. The goal is a clear, unobstructed path to your devices.
Step 2: Choose the Right Wi-Fi Band
Connect your camera to the 2.4GHz band. Its longer range is almost always the better choice for security devices not located right next to the router.
Step 3: Reduce Wi-Fi Interference
Move sources of interference (like microwaves) away from your router. Switch your router's channel to a less crowded one like 1, 6, or 11 in its settings.
Step 4: Use a Wi-Fi Extender
For cameras in dead zones (basement, garage), a Wi-Fi extender is a fantastic investment. These devices rebroadcast your signal to eliminate dead zones.
Step 5: Check Signal in App
Open your camera's mobile app and find the signal strength indicator in the device settings. A weak signal confirms a placement or interference issue.
Step 6: Update Router Firmware
Log into your router's admin panel and check for firmware updates. These updates often include performance improvements for connection stability.
Frequently Asked Questions (FAQ)
-
This can happen for a few reasons. It could be increased network congestion as more people in your home and neighborhood use their internet in the evening. For battery-powered cameras, a low battery can also struggle more when the power-intensive night vision (IR) LEDs turn on.
-
An extender rebroadcasts a signal, which can slightly reduce the maximum speed compared to being connected directly to the router. However, for a security camera, which requires stability over raw speed, the benefit of a strong, consistent connection from an extender far outweighs any minor speed loss.
-
Not always. Before spending money, always try optimizing your current setup by following the steps in this checklist—especially router placement and changing the Wi-Fi channel. If your router is more than 5-6 years old, however, a newer model could offer a significant performance boost.
-
Yes, absolutely. This is a crucial and often overlooked step. For wired cameras, a faulty USB cable or power adapter can cause random reboots that look like connection drops. For battery-powered models, a very low battery may not have enough power to maintain a stable Wi-Fi chip connection.
-
Each Wi-Fi camera adds to the total load on your network. While a few cameras are usually fine, adding many (5+) can create significant congestion, especially if they are all streaming in HD. If you plan on having many cameras, ensuring your router is modern and your internet plan has sufficient upload speed becomes even more important.
The Kangaroo Advantage: A Smarter Connection by Design
While the tips above can improve any camera's connection, some systems are built from the ground up to prevent these issues. At Kangaroo, we obsess over reliability, which is why we've made specific design choices to ensure our cameras stay connected.
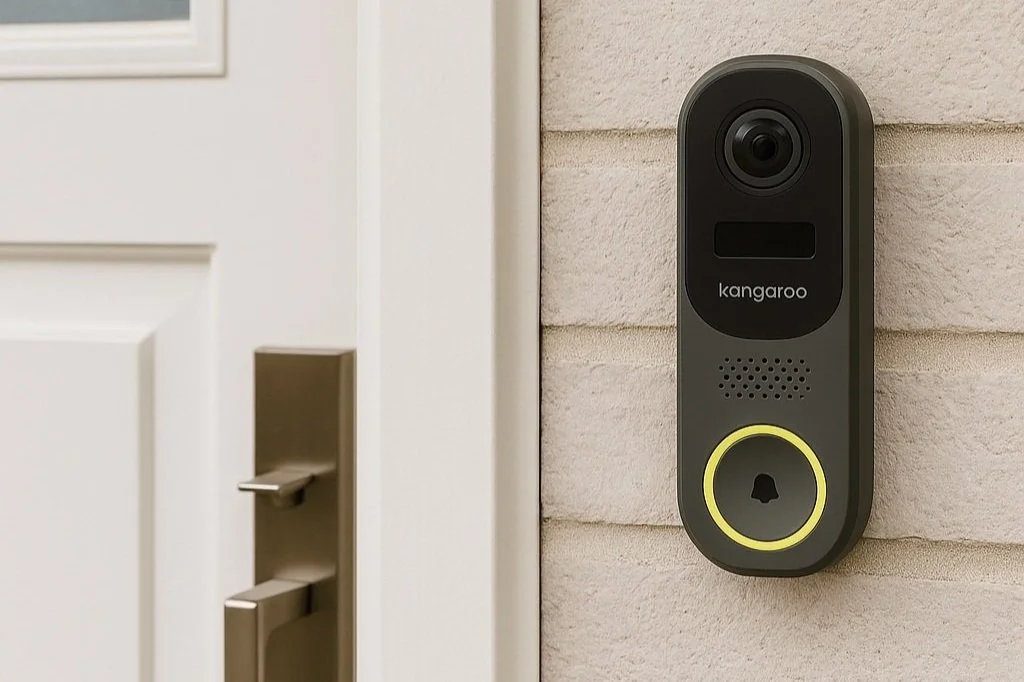
1. Dedicated 2.4GHz Connection for Maximum Range We deliberately designed all Kangaroo security devices to operate exclusively on the 2.4GHz Wi-Fi band. Why? Because its long-range signal is superior at penetrating walls, floors, and other obstructions in a typical home. This directly combats the #1 cause of disconnections: a weak signal due to distance and obstacles.
2. Low-Bandwidth Engineering A camera constantly dropping from your network can be a sign of congestion. Kangaroo cameras are engineered to be incredibly efficient, using minimal bandwidth to stream and record. This means they place less strain on your network, making them less likely to be kicked off, even in a busy smart home.
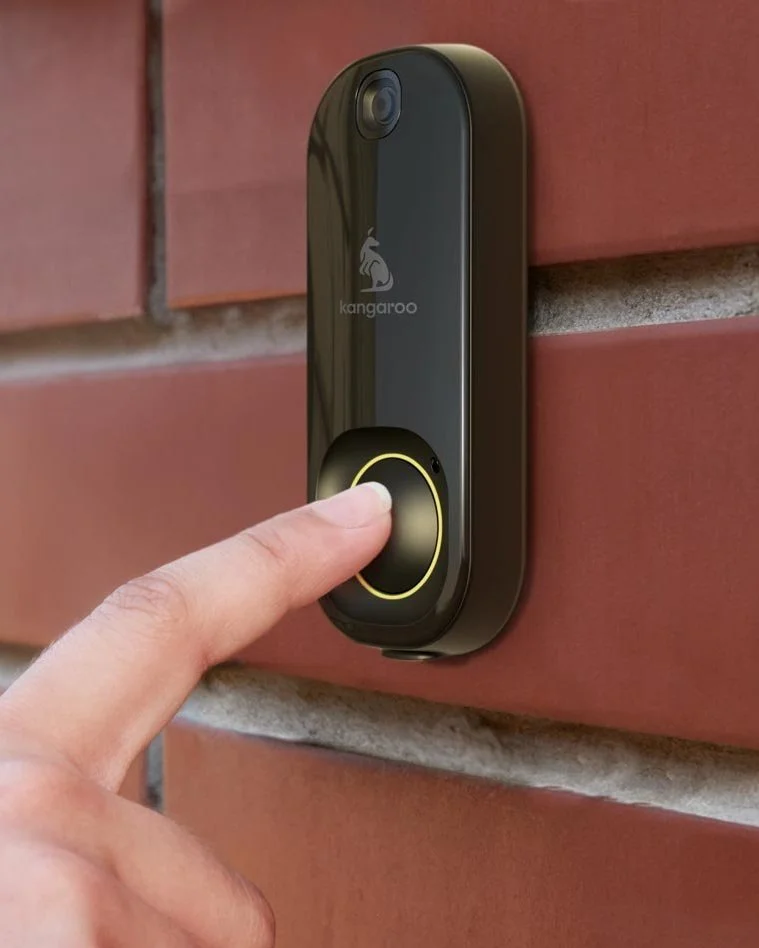
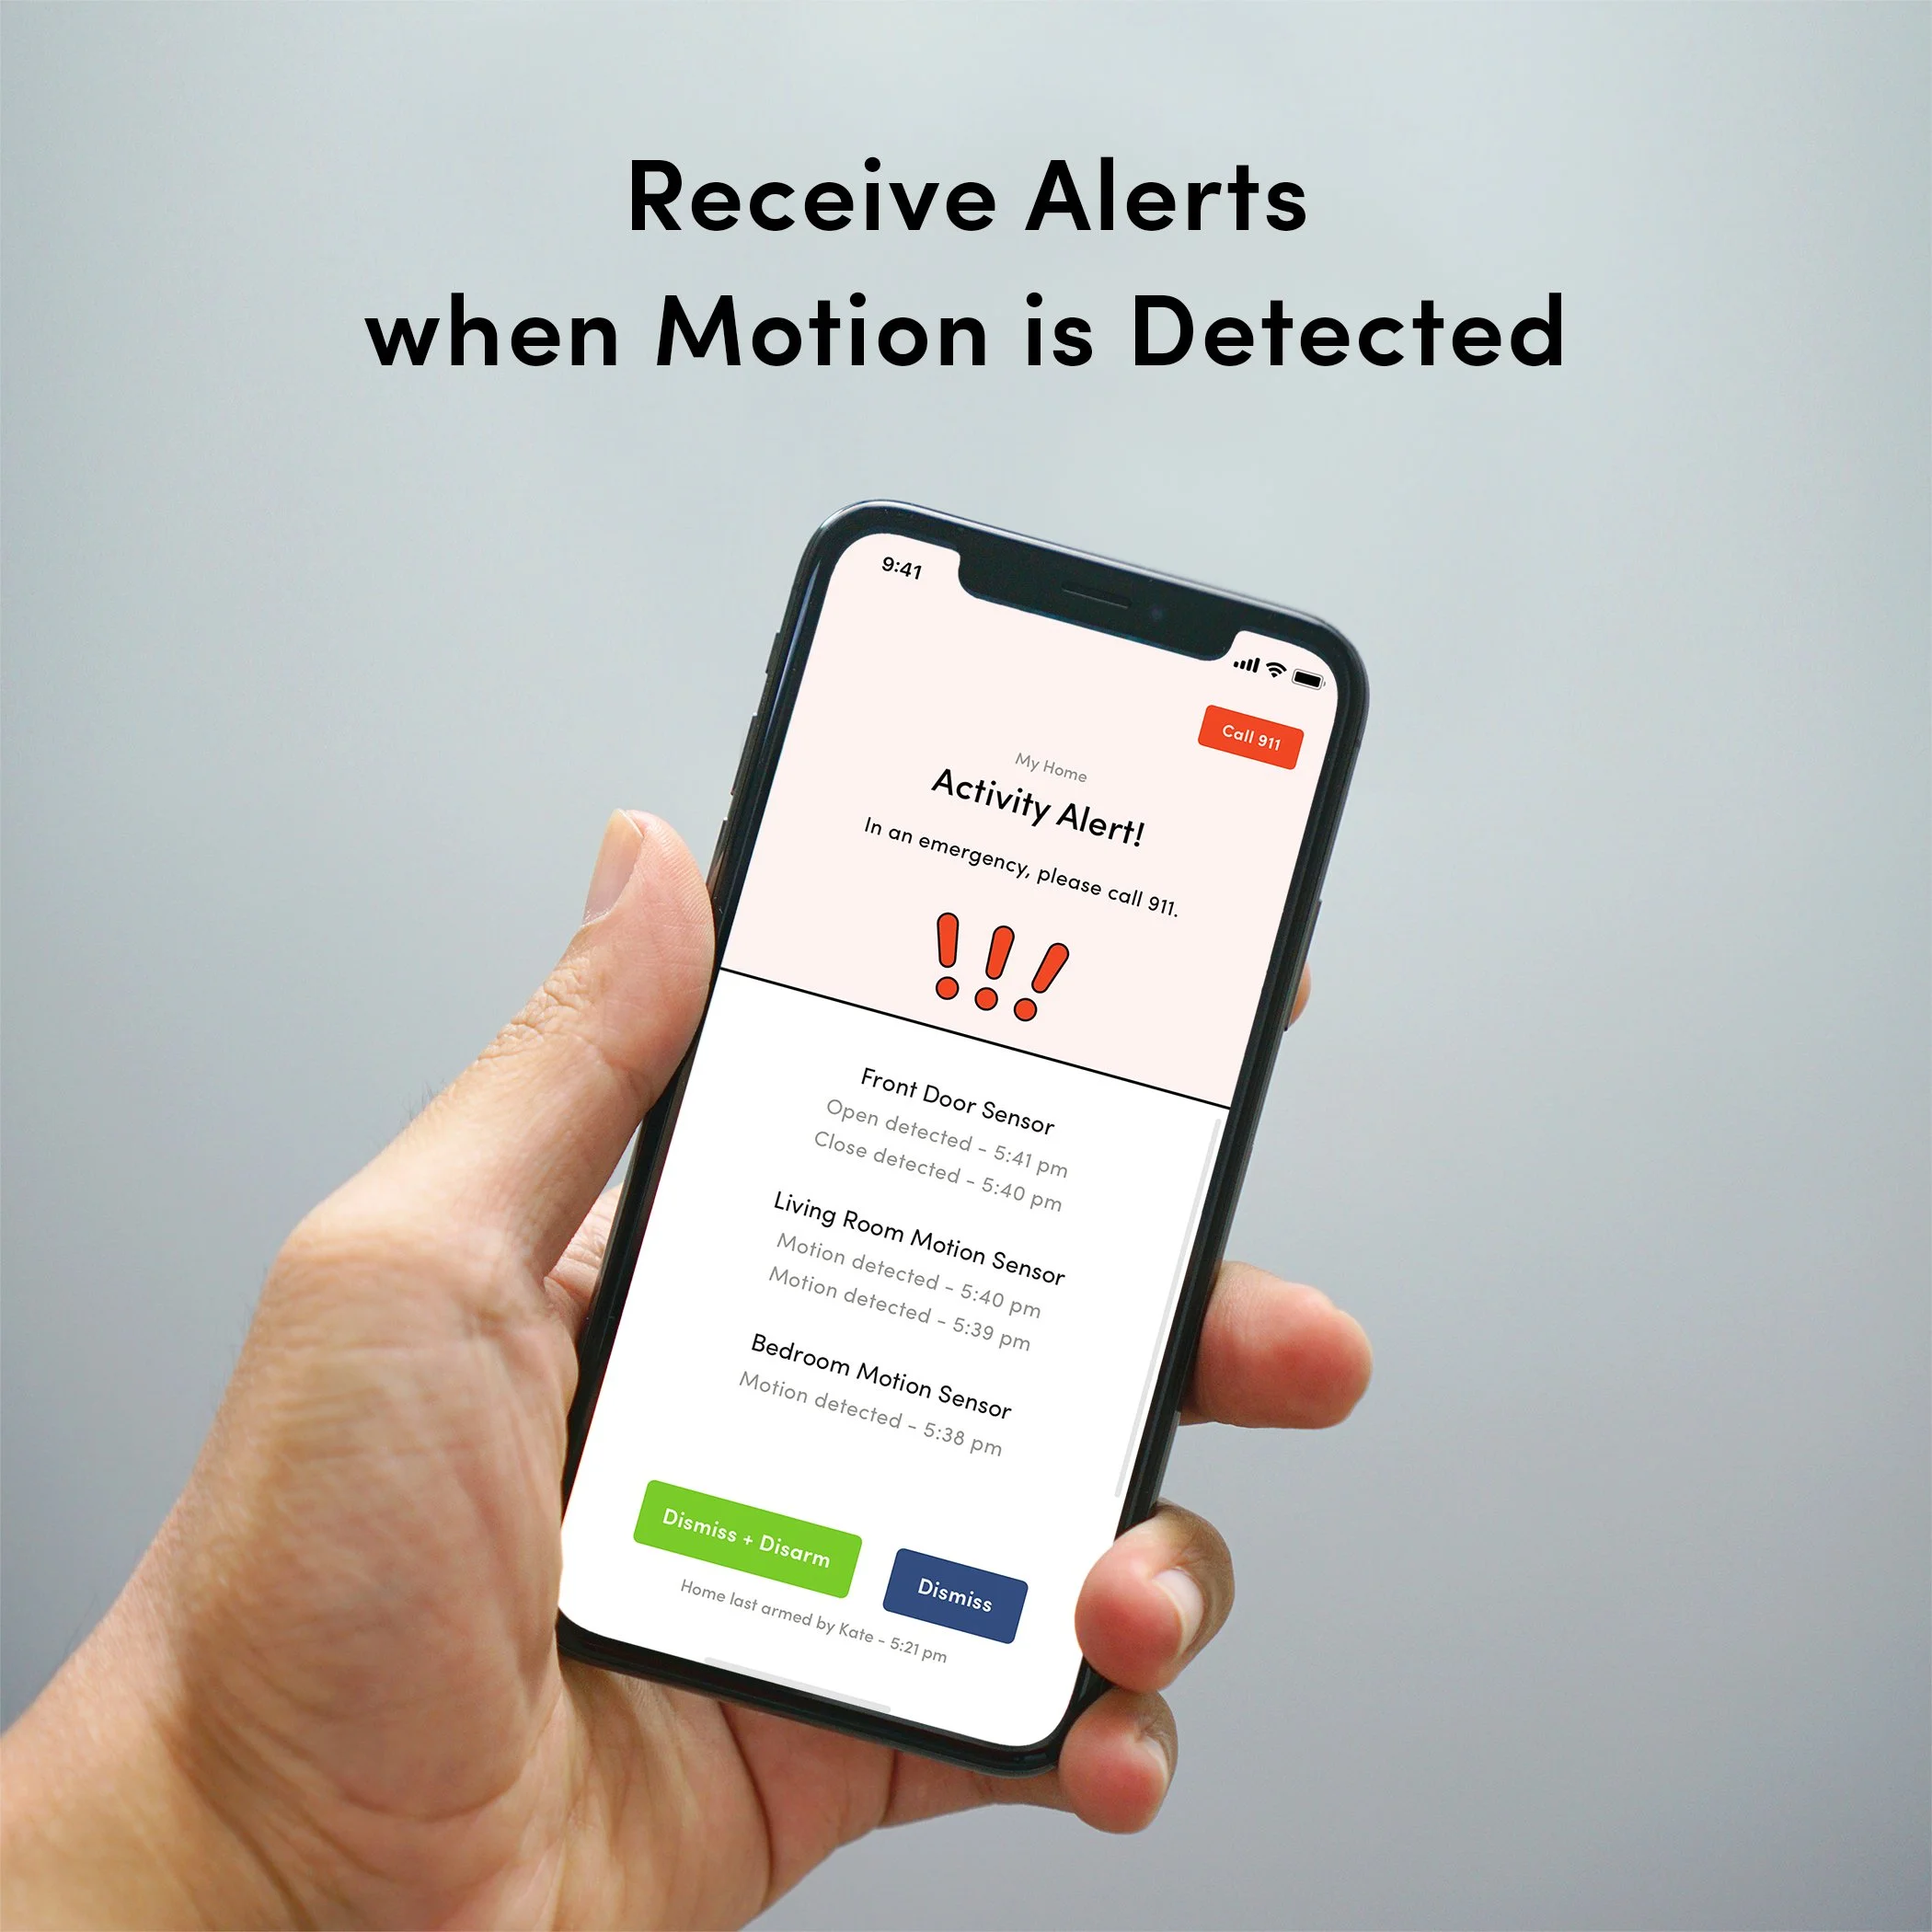
3. Simple In-App Diagnostics The Kangaroo Security app makes it easy to see your device's status and signal strength. Our simple, guided setup process ensures you have a stable connection from the start, taking the guesswork out of installation.
If you're tired of fighting with a high-maintenance security camera, maybe it's time for a simpler, more reliable approach.


![[QUIZ] What's Your Home's True Security Vulnerability Score?](https://images.squarespace-cdn.com/content/v1/6047adb1f3383c71b64f494b/7b99bd74-f07d-42ae-a096-72ee222bde79/IMG_4306.jpg)


Think more cameras mean more safety? Discover 3 ways an over-secured home can attract burglars and learn why smart, discreet security is the better choice.