
Finding the Sweet Spot: Where to Install Your Doorbell Camera
A doorbell camera is one of the best upgrades for your home's security. But to get clear video of visitors and deter porch pirates effectively, placement is everything. Are you wondering about the perfect height, the best side of the door, or how to handle the installation yourself? You've come to the right place.
This guide provides a definitive checklist for placement and a simple, step-by-step installation guide for any doorbell camera, whether it's a Kangaroo, Ring, or another popular model.

The Perfect Placement: A Quick Checklist
Before you drill any holes, let's answer the most common question: where should a doorbell camera go?

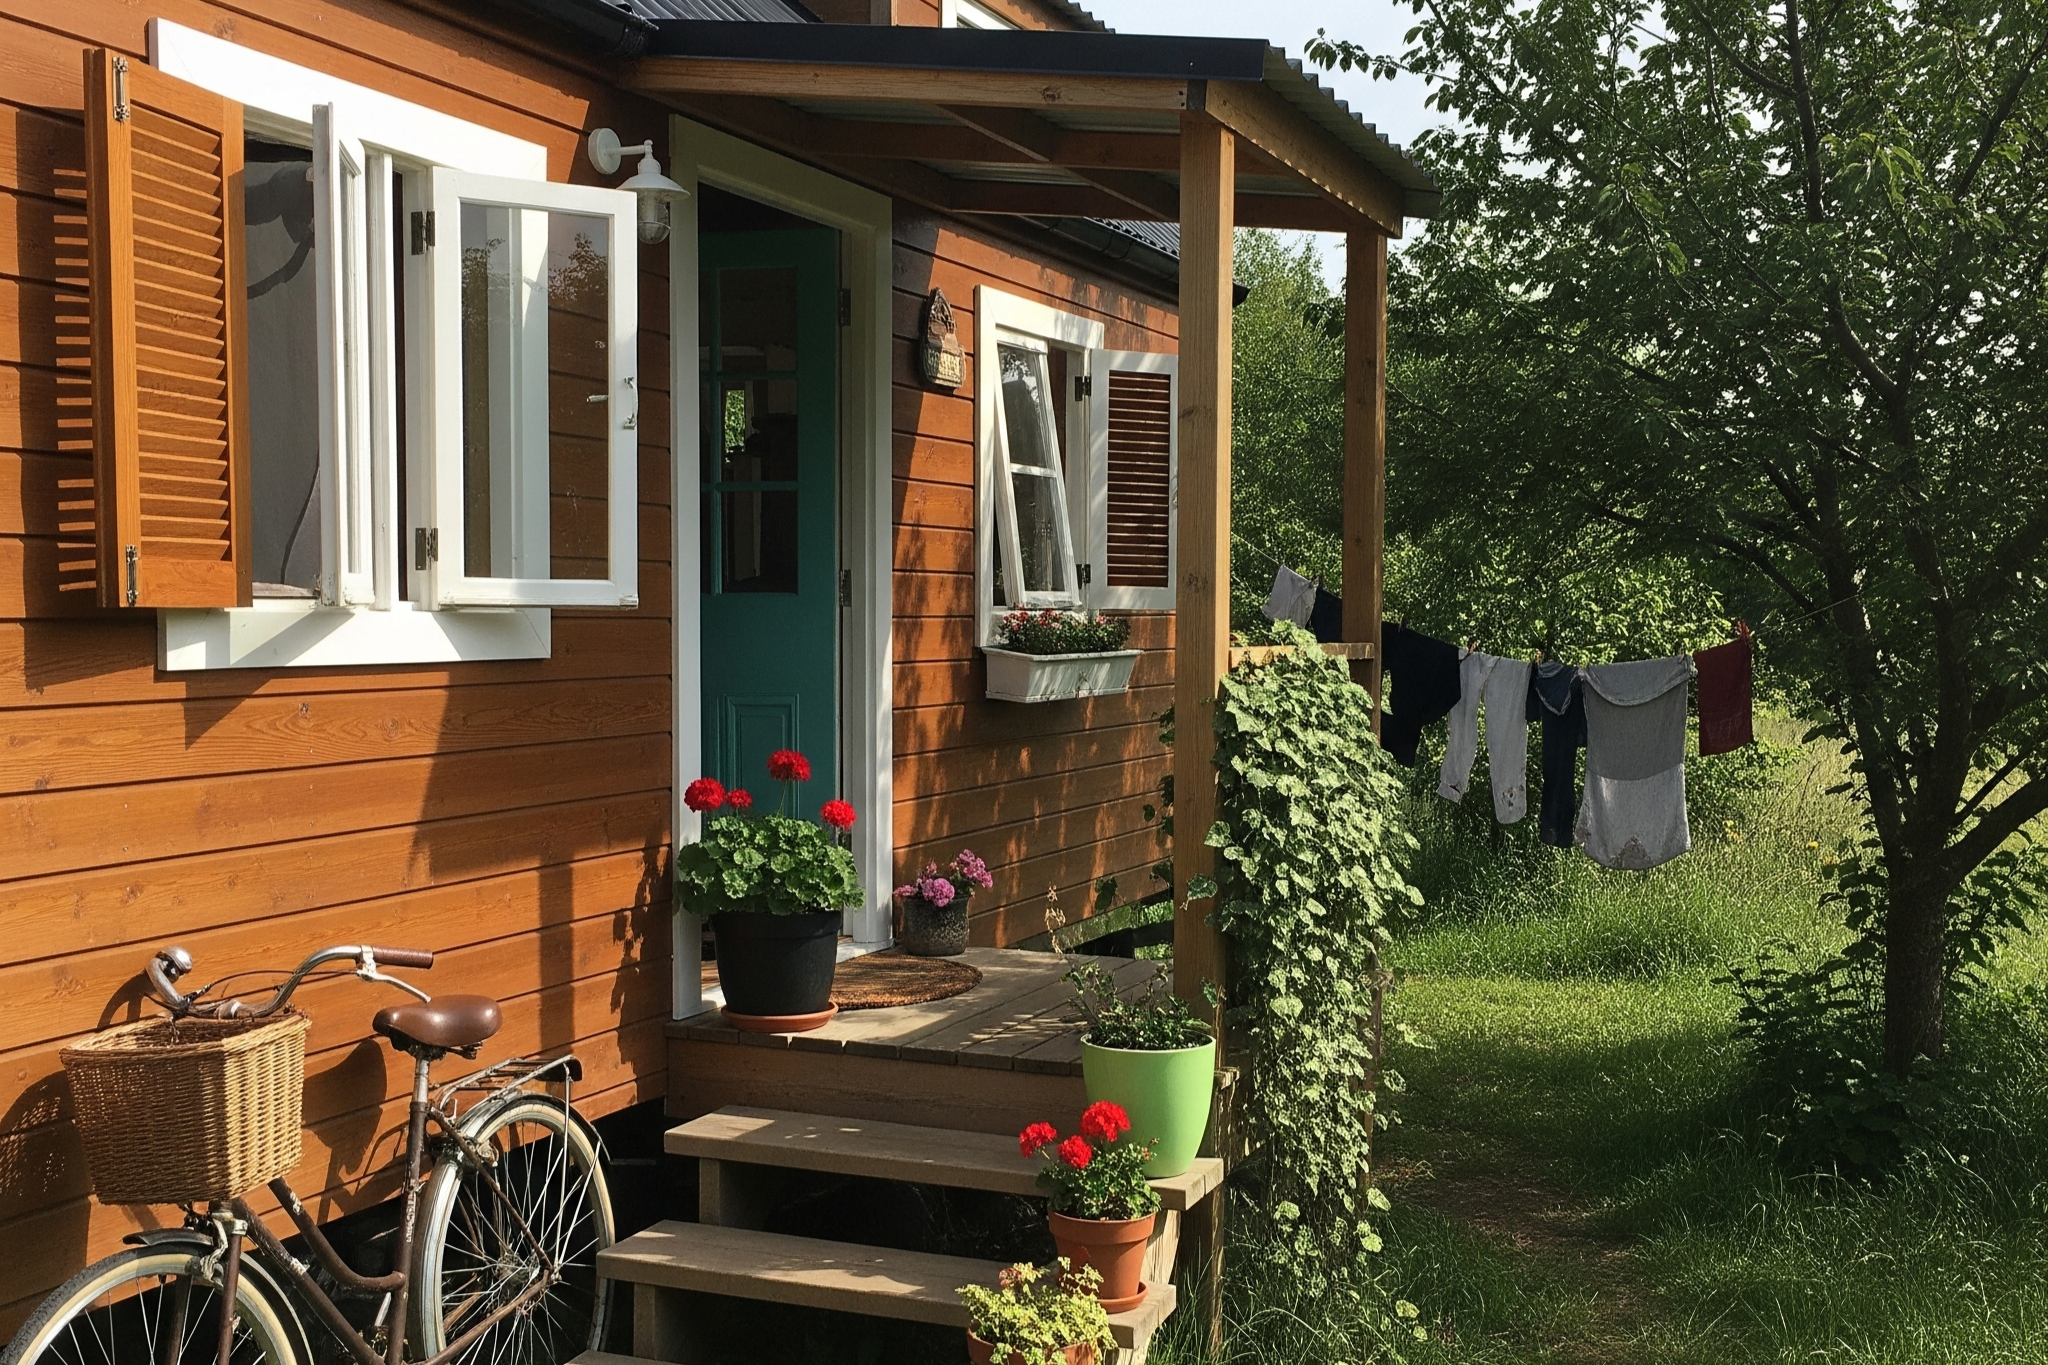
✅ Ideal Height: 4 Feet (48 inches / 1.2 meters) from the ground. This is the sweet spot. It's high enough to capture visitors' faces clearly but low enough to see packages left on the ground.
✅ Best Angle: Pointing slightly downwards. This ensures faces are in the frame, not just the tops of heads. Avoid positioning it under a deep overhang that could cast dark shadows.
✅ Which Side of the Door? The side that provides the clearest view of your approach path. If your door has a sidelight, mounting it on the door frame on the handle side is often best. If there's no frame space, the wall beside the handle side is the next best option.
✅ Respect Privacy: Angle your camera to focus on your property only. Avoid capturing your neighbors' doors, windows, or private yards.
How to Install Your Doorbell Camera: A 5-Step Guide
Installation is easier than you think, especially with modern wireless models.
Step 1: Choose Your Power Source (Wired vs. Wireless)
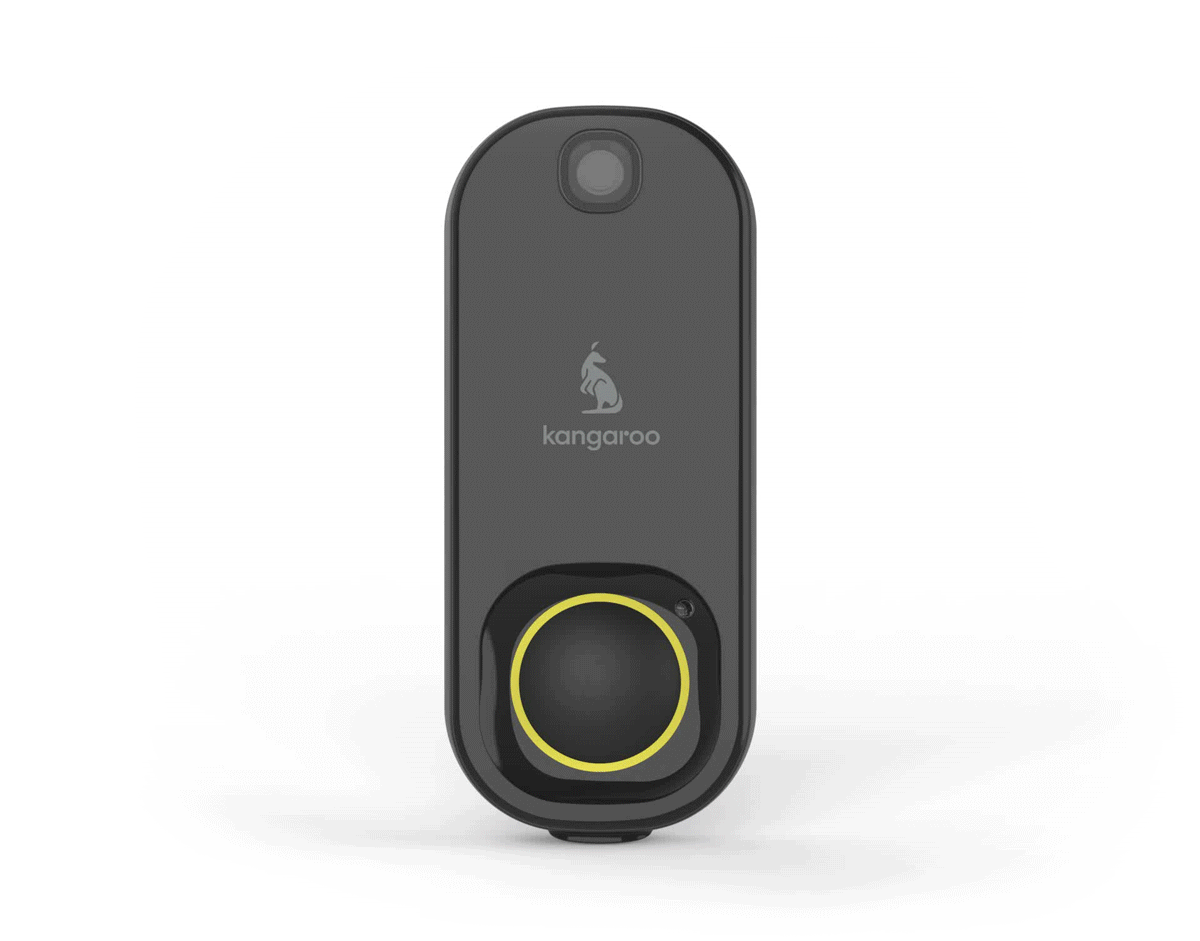
Wireless (Easiest): Models like the Kangaroo Video Doorbell are powered by a rechargeable battery. They offer maximum placement flexibility and are perfect for renters or anyone without existing doorbell wiring. Installation is drill-free.
Wired: These cameras connect to your home's existing low-voltage doorbell wires. You get continuous power, but your placement is limited to where the wires are.
Step 2: Gather Your Tools
For a wireless installation, you might not need any tools at all! For a wired or screw-mount install, you'll generally need:
A power drill
Screwdriver
The mounting hardware included with your doorbell
Step 3: Mount Your Doorbell Camera
This is where Kangaroo makes it incredibly simple.
For a Wireless, No-Drill Install (like the Kangaroo Photo or Video Doorbell):
Clean the mounting surface with rubbing alcohol.
Peel the backing from the included industrial-strength adhesive.
Press the mounting bracket firmly onto the wall at your chosen 4-foot height. Hold for 30 seconds.
Attach your Kangaroo doorbell. You're done!
For a Wired or Screw-Mount Install:
Hold the mounting bracket on the wall and mark the screw holes with a pencil.
Drill pilot holes where you marked.
If installing a wired doorbell, gently pull the existing doorbell wires through the center of the bracket.
Screw the bracket securely to the wall.
Step 4: Connect the Wiring (For Wired Models Only)
Safety First: Turn off the power to your doorbell at the circuit breaker before touching any wires.
Loosen the two terminal screws on the back of the mounting bracket.
Loop one wire around each screw and tighten them down. The order doesn't matter.
Attach your doorbell camera to the bracket.
Need more detail? Check out our complete guide on how to hardwire a doorbell.
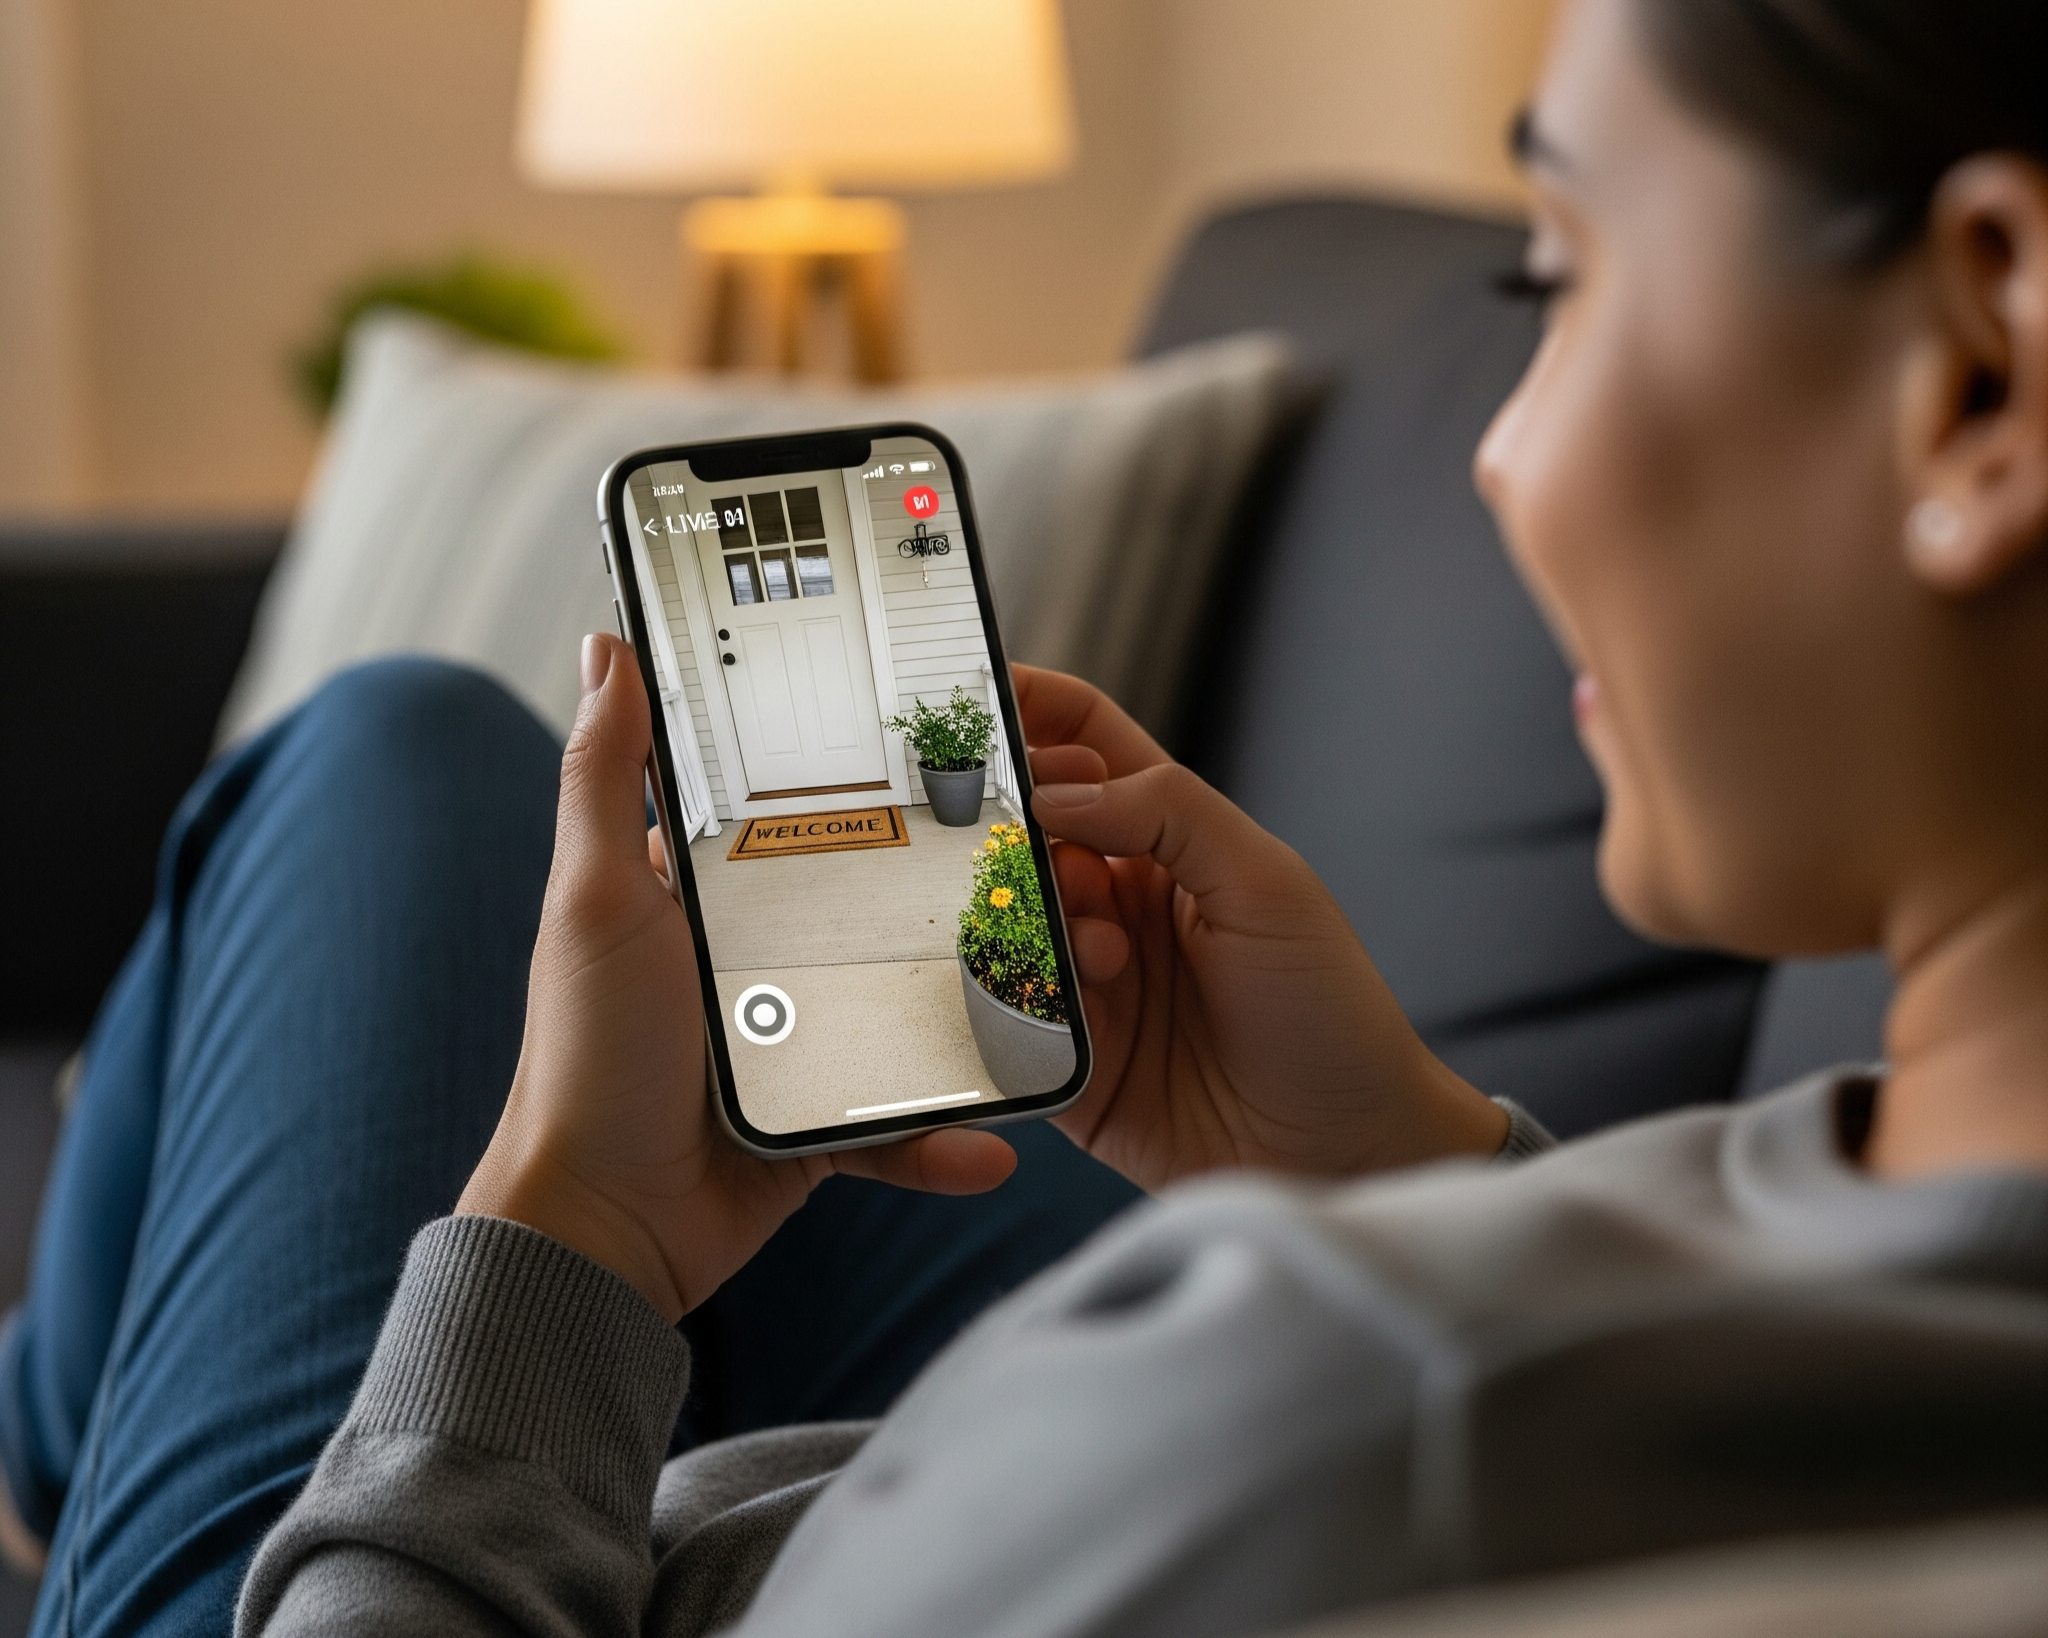
Step 5: Set Up the App & Connect to Wi-Fi
Turn the power back on at the breaker (for wired models).
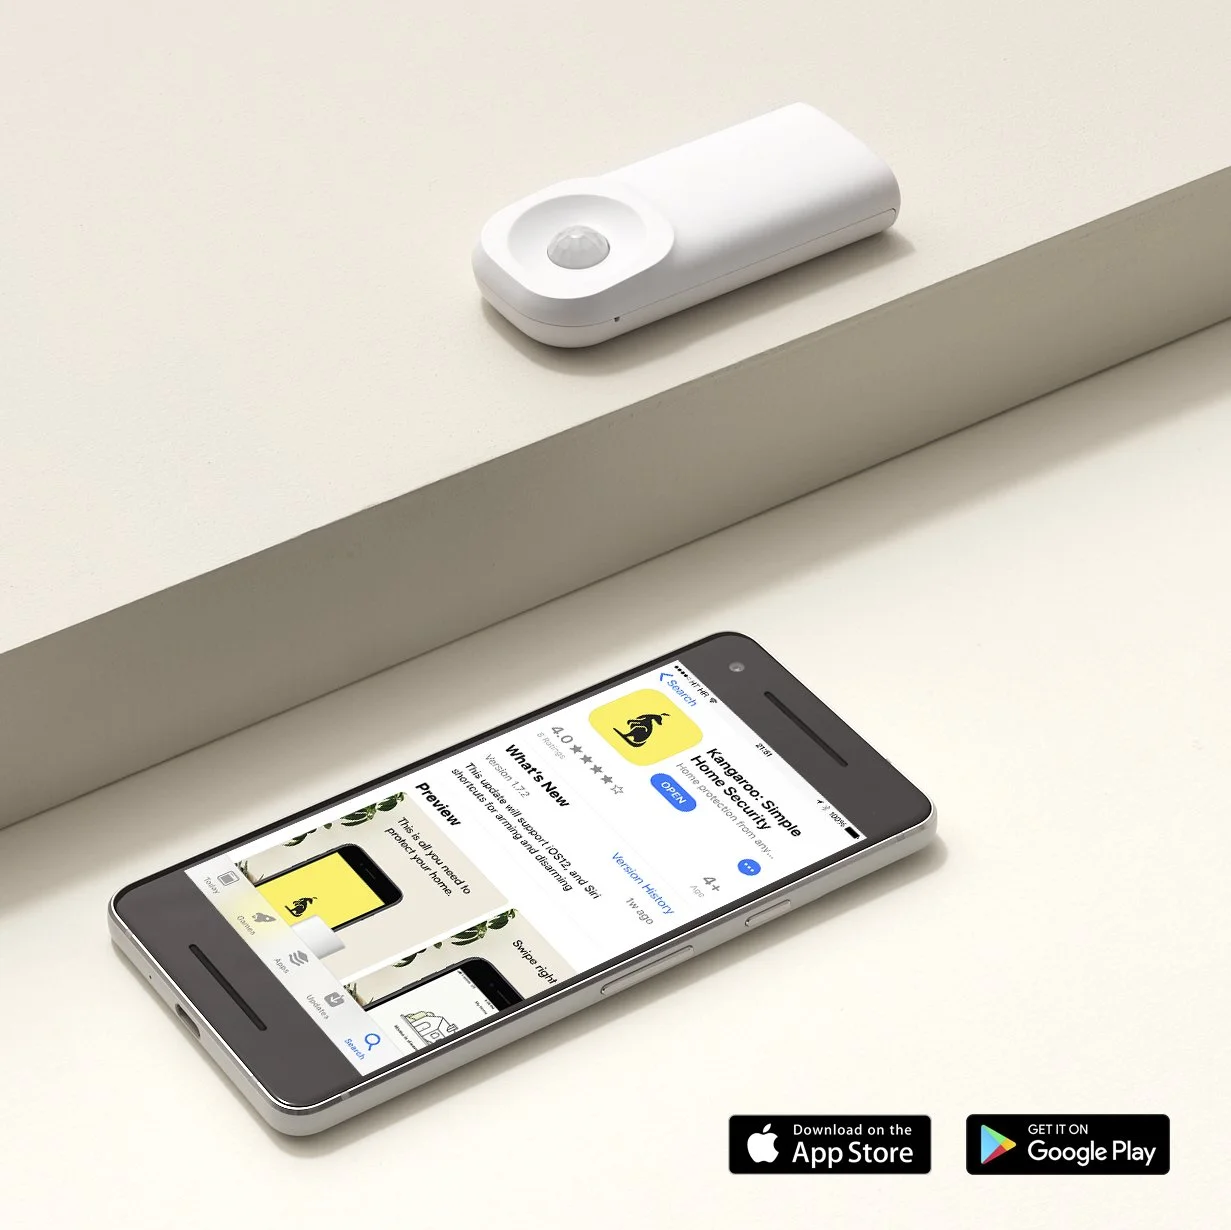
Download the Kangaroo app (or the app for your specific brand).
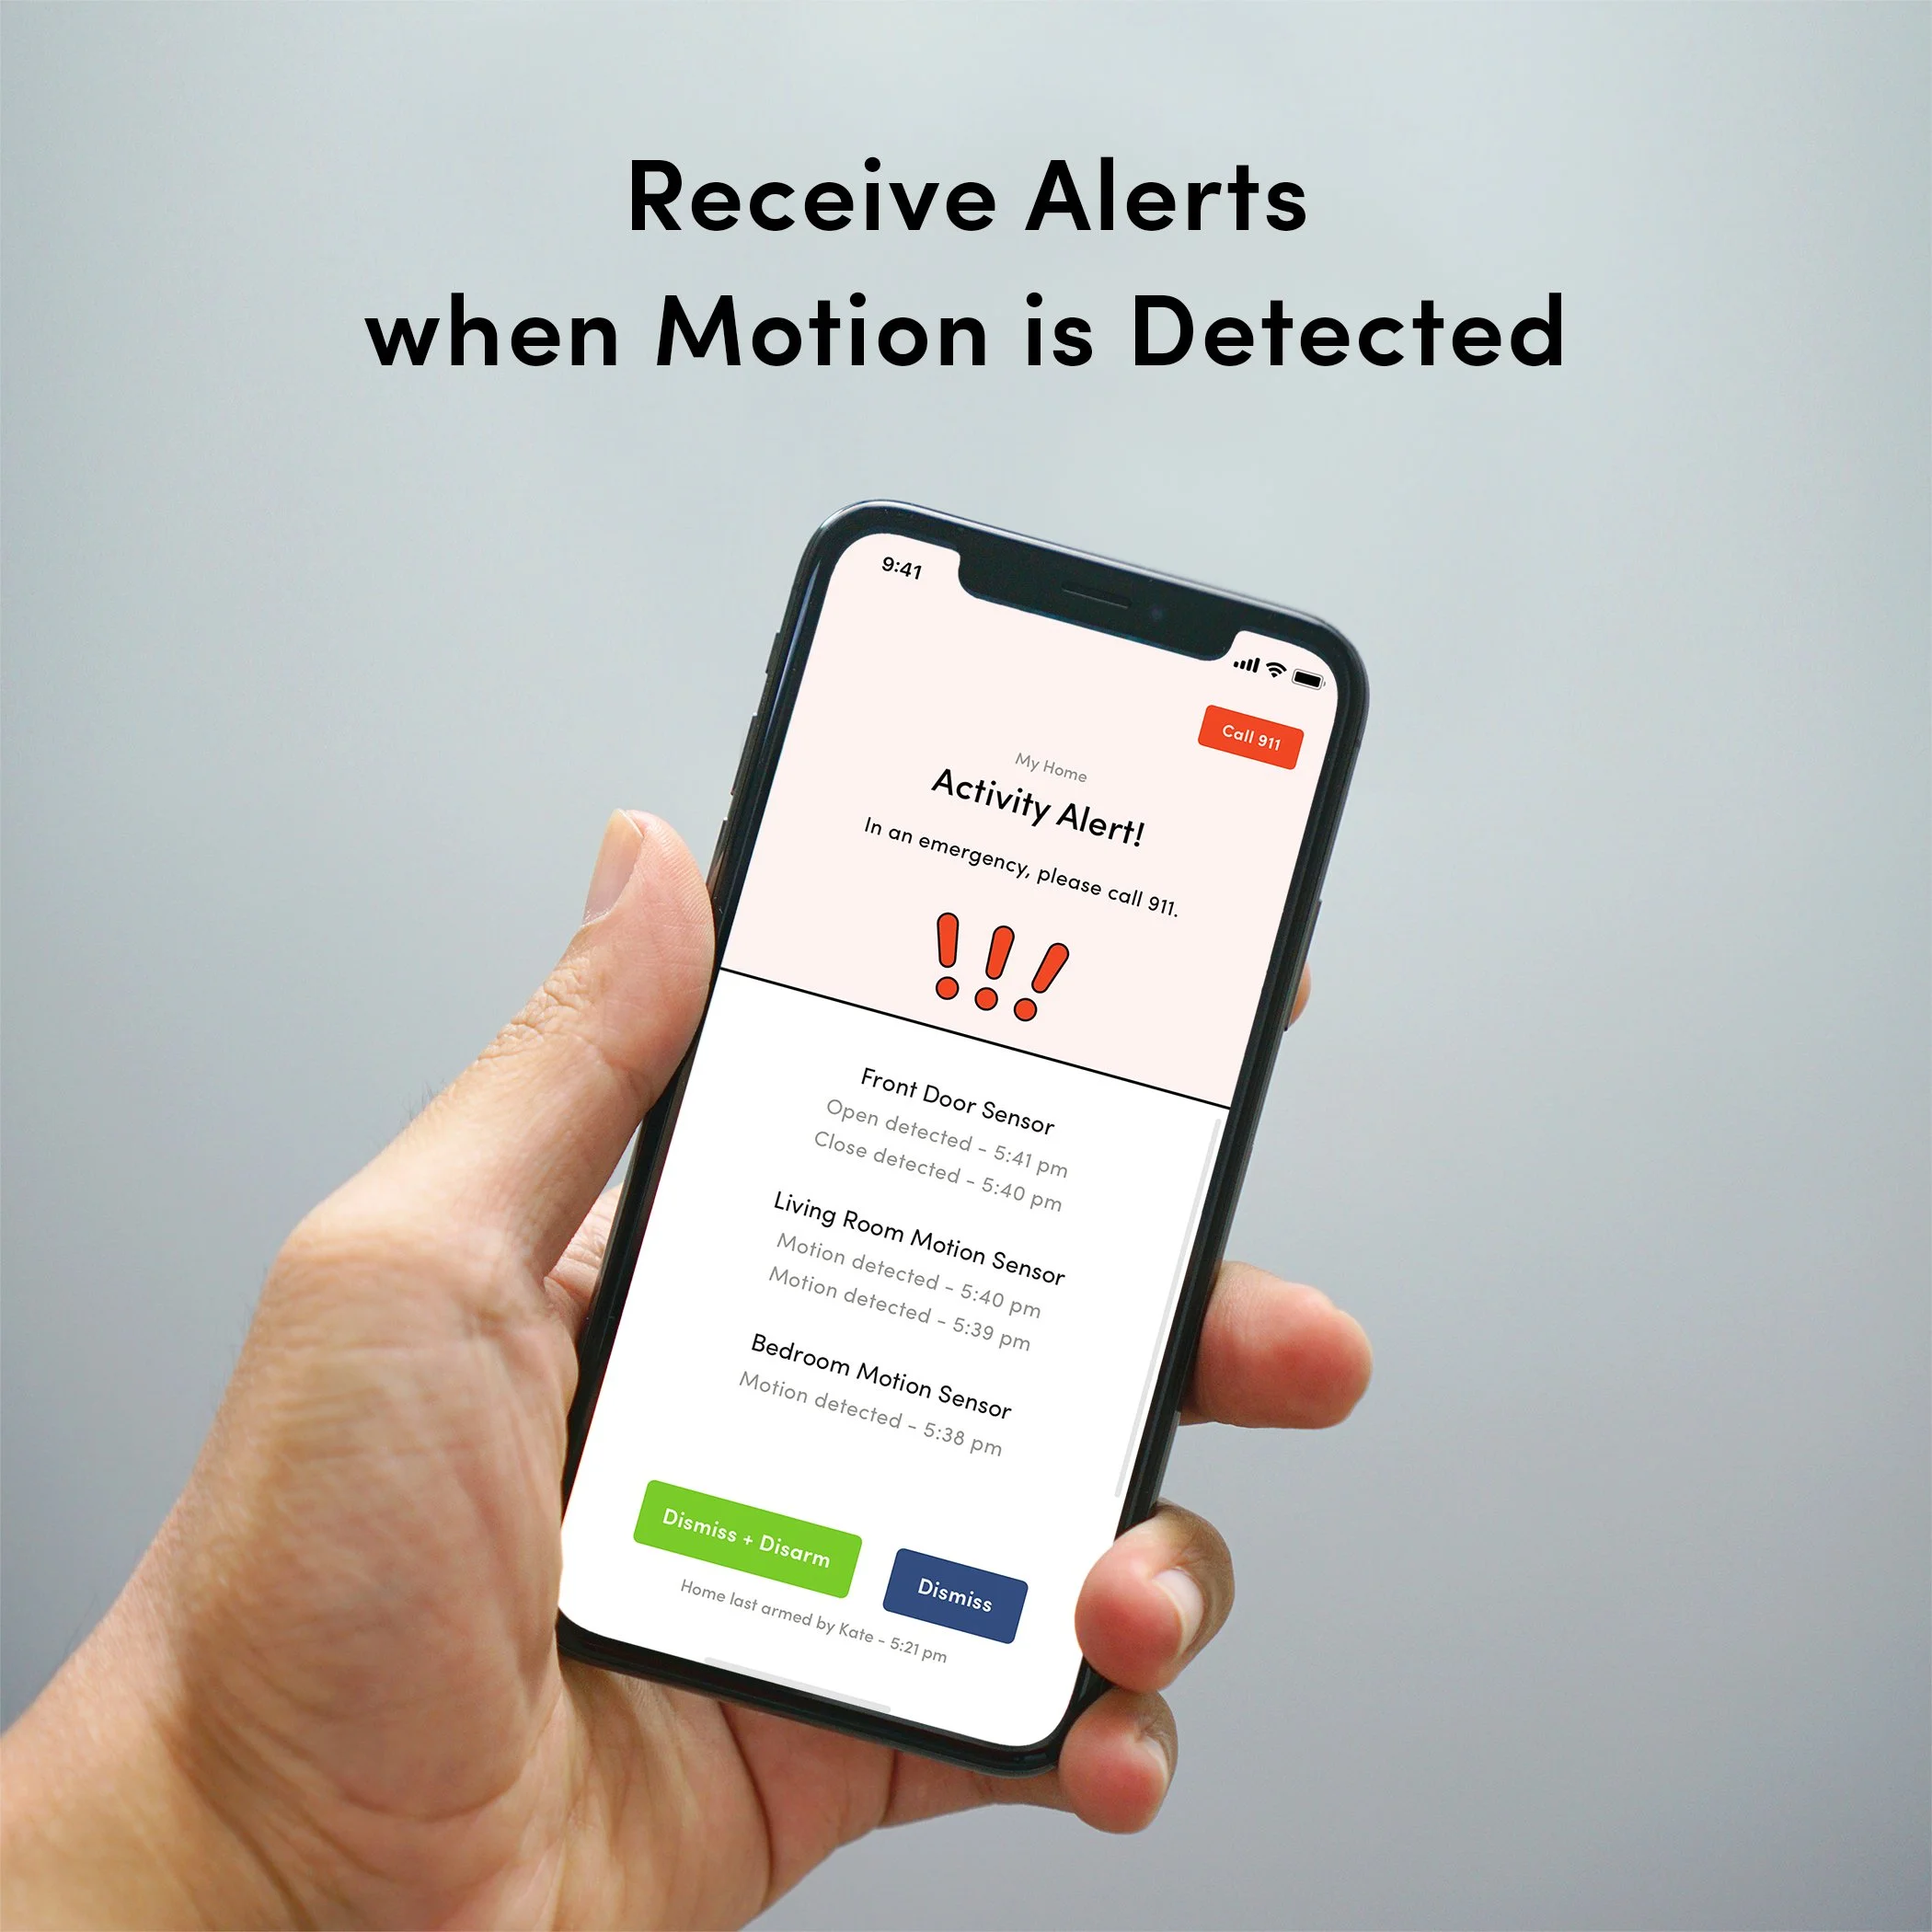
Follow the in-app instructions to create an account, connect the doorbell to your Wi-Fi network, and customize your motion settings.
Kangaroo Doorbells:

My Kangaroo is Great
“Living alone, it’s reassuring to know who’s at the door. Kangaroo works exactly as promised, sending phone alerts when I’m not home. Worth every penny!” — Kim W., Amazon Verified Purchase
Excellent Doorbell & Chime Kit from Kangaroo
“This budget-friendly video doorbell camera delivers impressive clarity, almost like 4K, thanks to its FHD sensor. The rechargeable battery and loud USB chime add convenience. Kangaroo Security stands out for its quality!” — Jessie4242, BestBuy Verified Purchase
Perfect Equipment
“Works perfectly and makes my family feel safe. Highly recommended!” — Clary, Chewy Customer Review
Frequently Asked Questions (FAQ)
-
Yes. Avoid pointing it directly at the sun, which can cause glare. Also, avoid deep, dark alcoves or overhangs that cast shadows and obstruct the view.
-
Absolutely! This is the perfect scenario for a wireless, peel-and-stick model like the Kangaroo Photo Doorbell. It provides security without damaging the property, and you can take it with you when you move.
-
Choose wireless for ease of installation, flexibility, and if you're a renter. Choose wired if you have existing doorbell wires and never want to worry about charging a battery.
-
They use a built-in, long-lasting rechargeable battery. Depending on usage, you'll typically need to recharge it every few weeks or months by bringing it inside and plugging it into a standard USB charger.
-
Yes! If you can peel a sticker, you can install a wireless Kangaroo doorbell. It's designed for everyone, regardless of their technical skill.
-
Don't worry. You can patch the small screw hole with a bit of spackle, let it dry, sand it smooth, and touch it up with paint.
-
Yes. Most cameras, including Kangaroo, offer free features like live streaming and motion alerts. An optional subscription, like Kangaroo Complete Protect, adds features like extended video storage and professional monitoring for enhanced security.
-
Make sure your doorbell is close enough to your Wi-Fi router. If the signal is weak at your front door, you may need a Wi-Fi extender. Also, ensure you are connecting to a 2.4GHz network, as most security devices don't support 5GHz.
![[QUIZ] What's Your Home's True Security Vulnerability Score?](https://images.squarespace-cdn.com/content/v1/6047adb1f3383c71b64f494b/7b99bd74-f07d-42ae-a096-72ee222bde79/IMG_4306.jpg)


Think more cameras mean more safety? Discover 3 ways an over-secured home can attract burglars and learn why smart, discreet security is the better choice.